I was inspired by this article by James Roos about converting an Old PowerBook Duo into a digital picture frame. Unfortunately I didn't have a Powerbook Duo just sitting around so I turned to everyone's favorite place to get old equipment, eBay. Well it looks like old color Duos still go for around $100 each. Way more than I wanted to spend, so I looked around for something else to convert. I thought about a 1400 or 3400 but those where going for even more money. Belive it or not the defect plagued 5300's still demand a premium. That pretty much left something in the 500 series. Since an active matrix screen was a requirement for this project that left the 540c or 550c. I suppose I could have used a 180c but I couldn't bring myself to use 68030 technology. 040 was bad enough.
I ended up with a PowerBook 540c with a Japanese keyboard and the AC adapter.
The eBay listing said it worked but that the batteries wouldn't hold a
charge. I knew this was a problem with the 500 series but thought I could
fix it and if I couldn't I didn't really need the batteries anyway. For
$32 and $7 shipping it was mine.
Apon arrival the first thing I did was disasemble it. This brought back
a lot of memories when I used to install memory into 10 or 15 of these
a day years ago. Anyway, after my trip down memory lane I set to work
on the batteries. As indicated in the eBay listing they didn't hold a
charge, the system wouldn't even recognise them. I went to Google and
started searching. Dead Powerbook 500 series batteries was a very common
issue back when these machines were popular, now there is almost nothing
on the web about this problem any more and the solutions are even harder
to find. After about two hours of following dead links I finnally came
up with the following software. With it I was able to resuect one of the
batteries, the other one is beyond help.
Intelligent Battery Update 1.0.3 - From Apple
Battery Amnesia 1.52 - Automatically bypasses low battery warnings to drain batteries completely. Helps to prevent memory effect.
Emmpathy 2.1 - From VST Technologies helps resuerect a dead EMM
Lind BU 500 Deluxe 2.01 - From Lind Technology
PowerBook 500 Series Battery EMM Fix
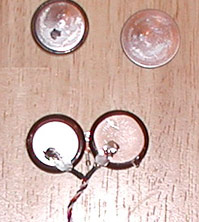
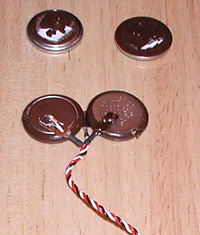
It is hard to see in these pictures but I carefully pried the leads off the old batteries and placed them on the new batteries. Don't bother trying to solder the leads to the new batteries, you won't be able to. Instead just wrap them up tight with electrical tape as shown below.
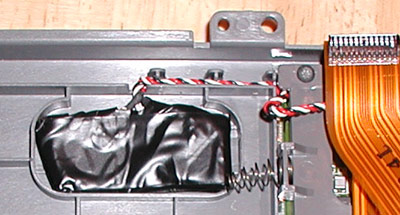
Don't use to much tape or it won't fit back into the its spot above the left battery bay.
The next step was to disconnect the screen and figure out how to mount it. This is where I realized why James Roos chose a PowerBook Duo. The PowerBook 500 is a HUGE laptop. Anyway I ended up removing the front bezel from the screen and mounting it on the back of the laptop. Now the problem was how to get the video cable to reach around so that it could be attached to the screen. A little work with an Exacto Knife and I had an extra hole in the case.
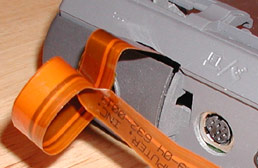
I did have to cut the ferrate bead off the cable so that I could extend it to its full length. Doing so gave me about an inch of extra cable to work with. Exactly what was needed.
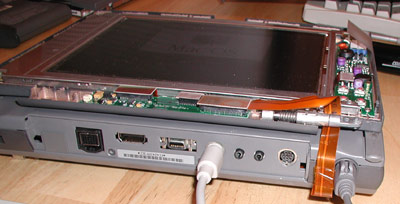
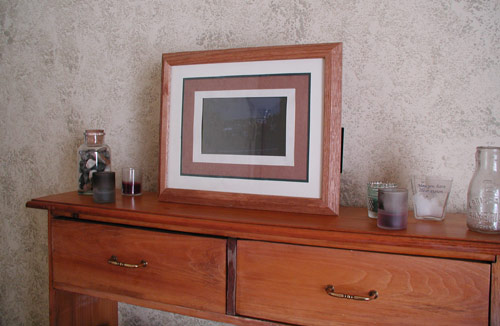
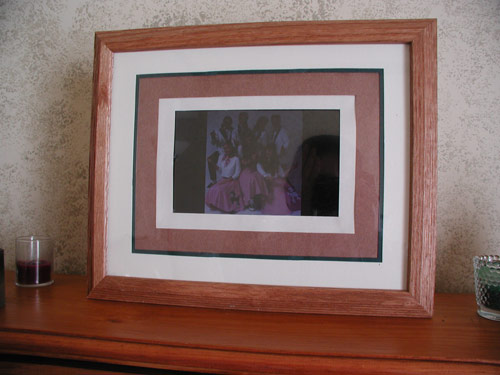
You can faintly make out the MacOS startup screen in the picture. I was very happy to see that as I thought I had torn the video cable.
Ahhhh, the wonders of Hot Glue! How such a simple thing can be so versatile. I rediscover this wonderful substance every couple of years and marvel at how great it is and wonder why I don't use it more often and then completely forget about it. I totally hot glued everything together. I hot glued the screen to the back of the PowerBook. Then the frame to the screen. Then I fashioned a cage out of some old Balsa Wood and Hot Glued that to the back. I am surprised at how sturdy it is. (I told you hot glue was great!)

Notice the cutout on the left to access the floppy drive and the one at the bottom to access the I/O and power ports.
MacOS 7.5, an old copy of JpegView and Viola Digital Picture slide show.